Green Chile Cheese Popovers
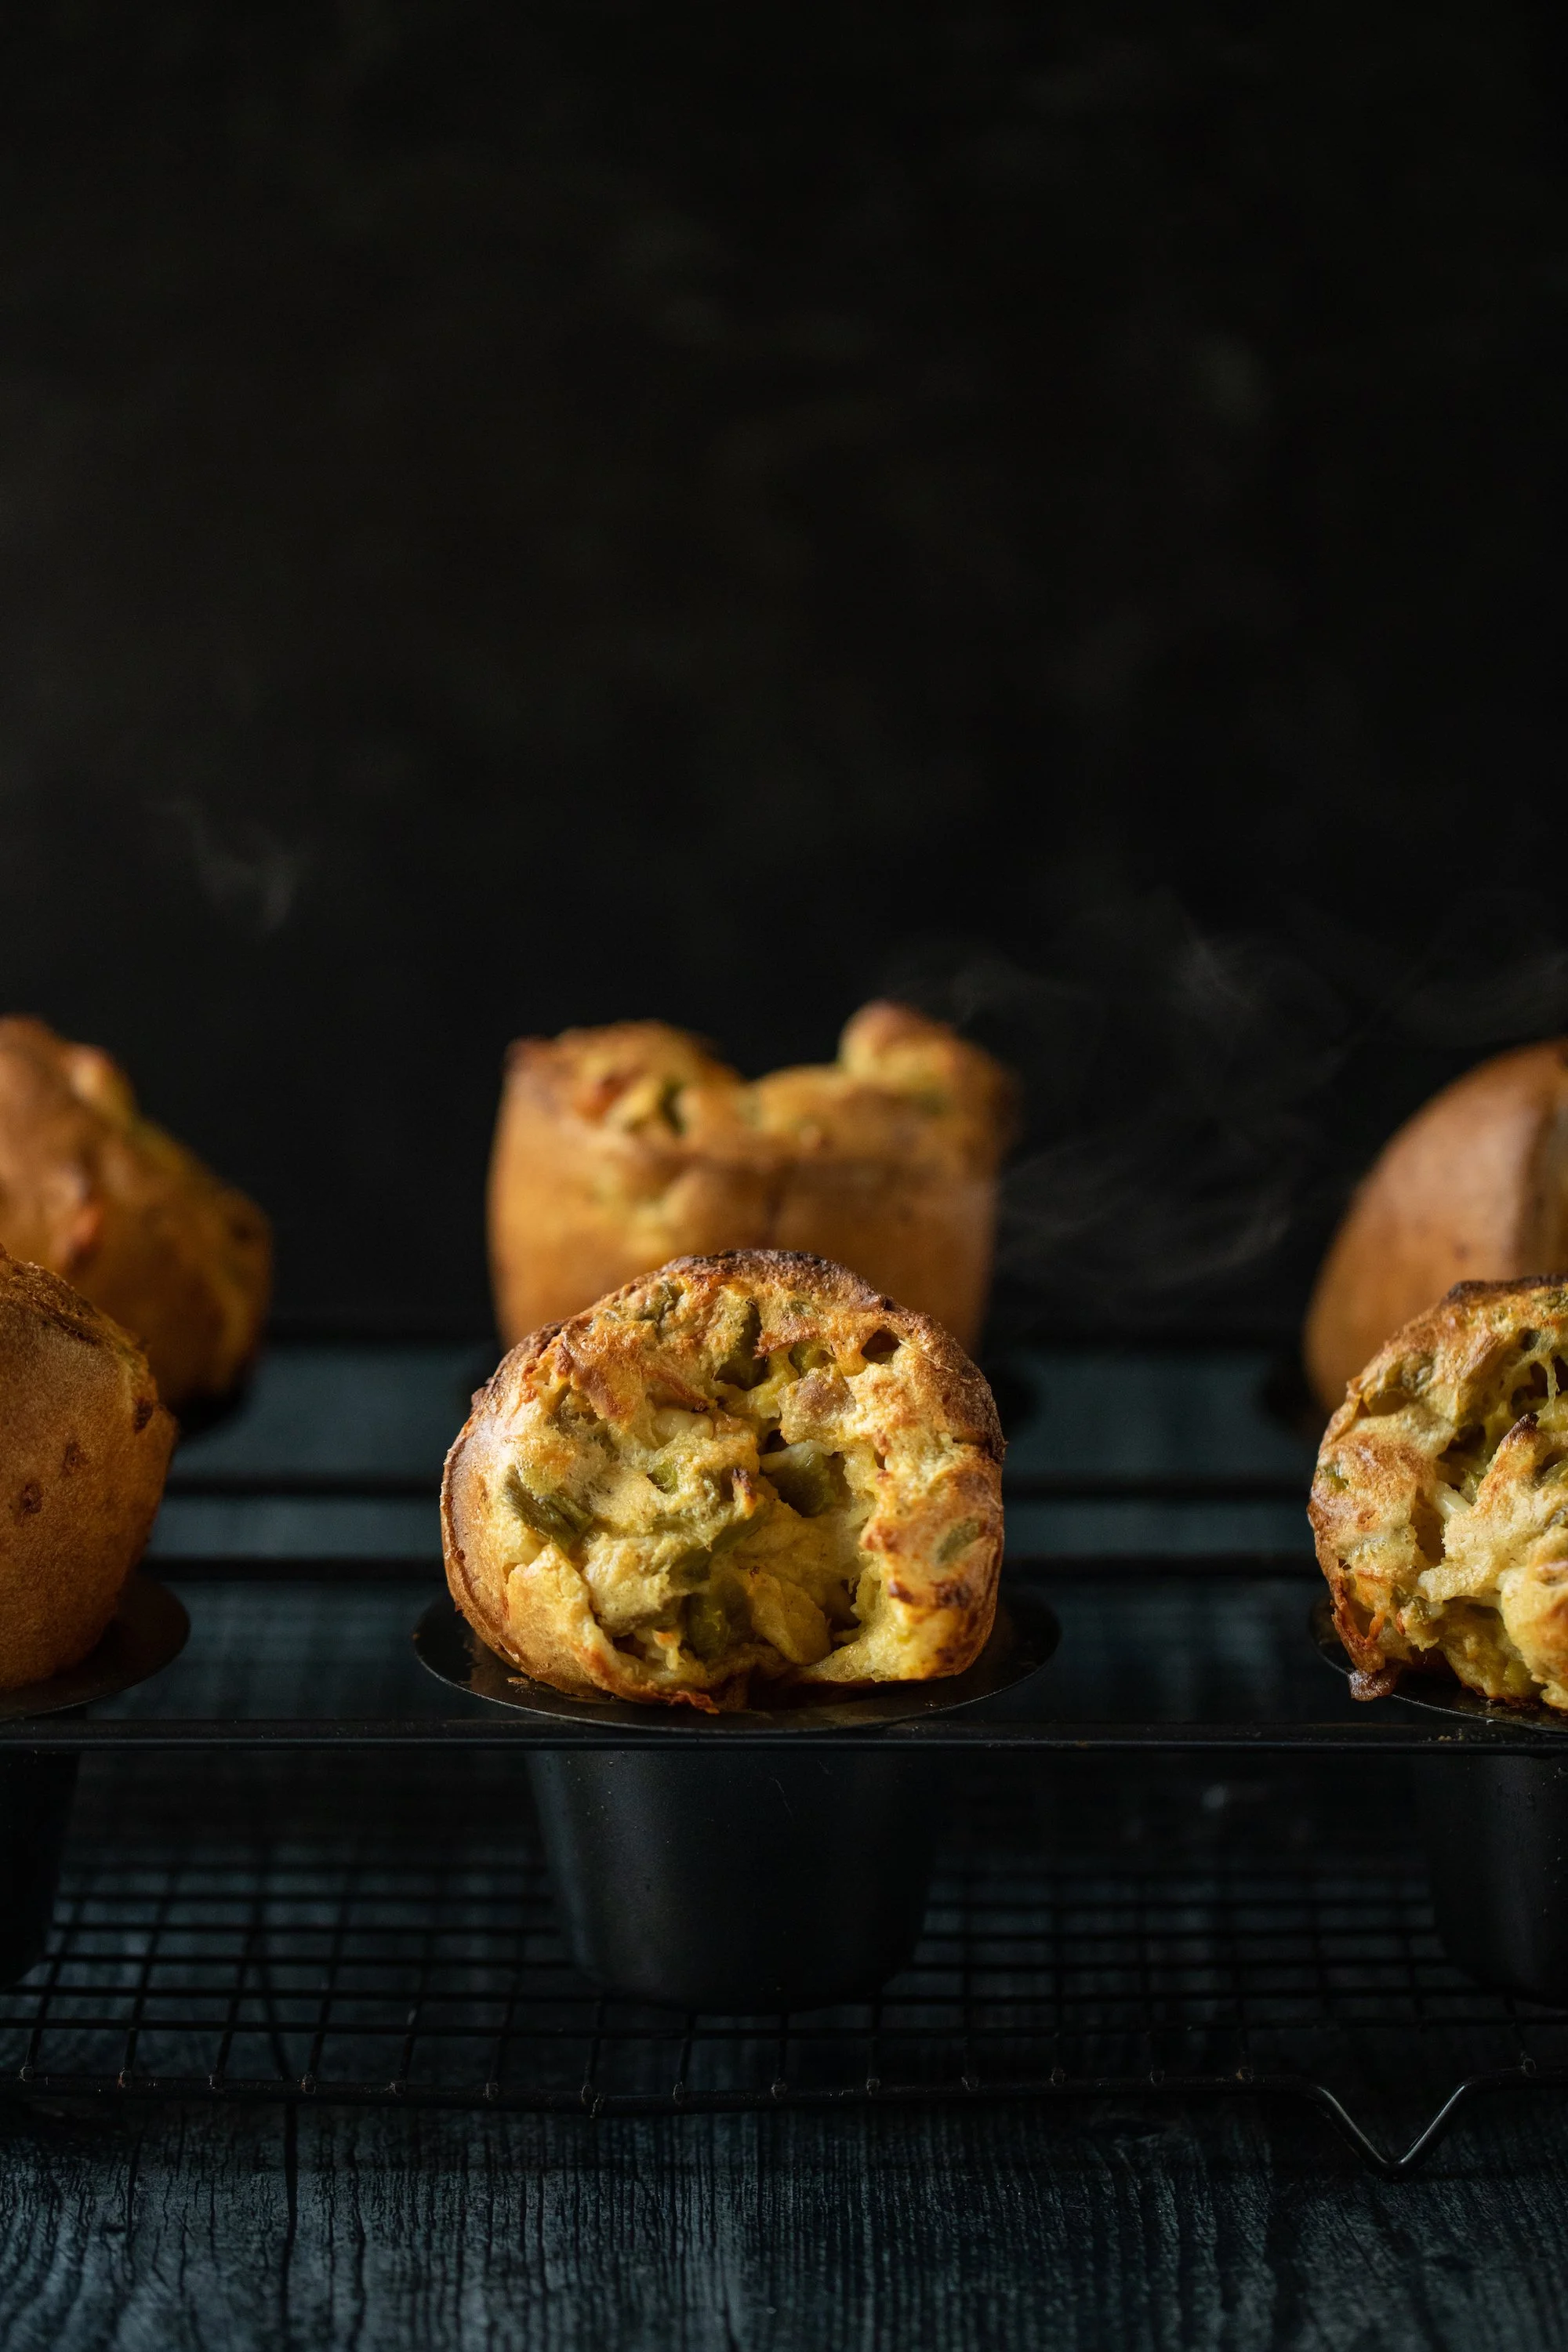
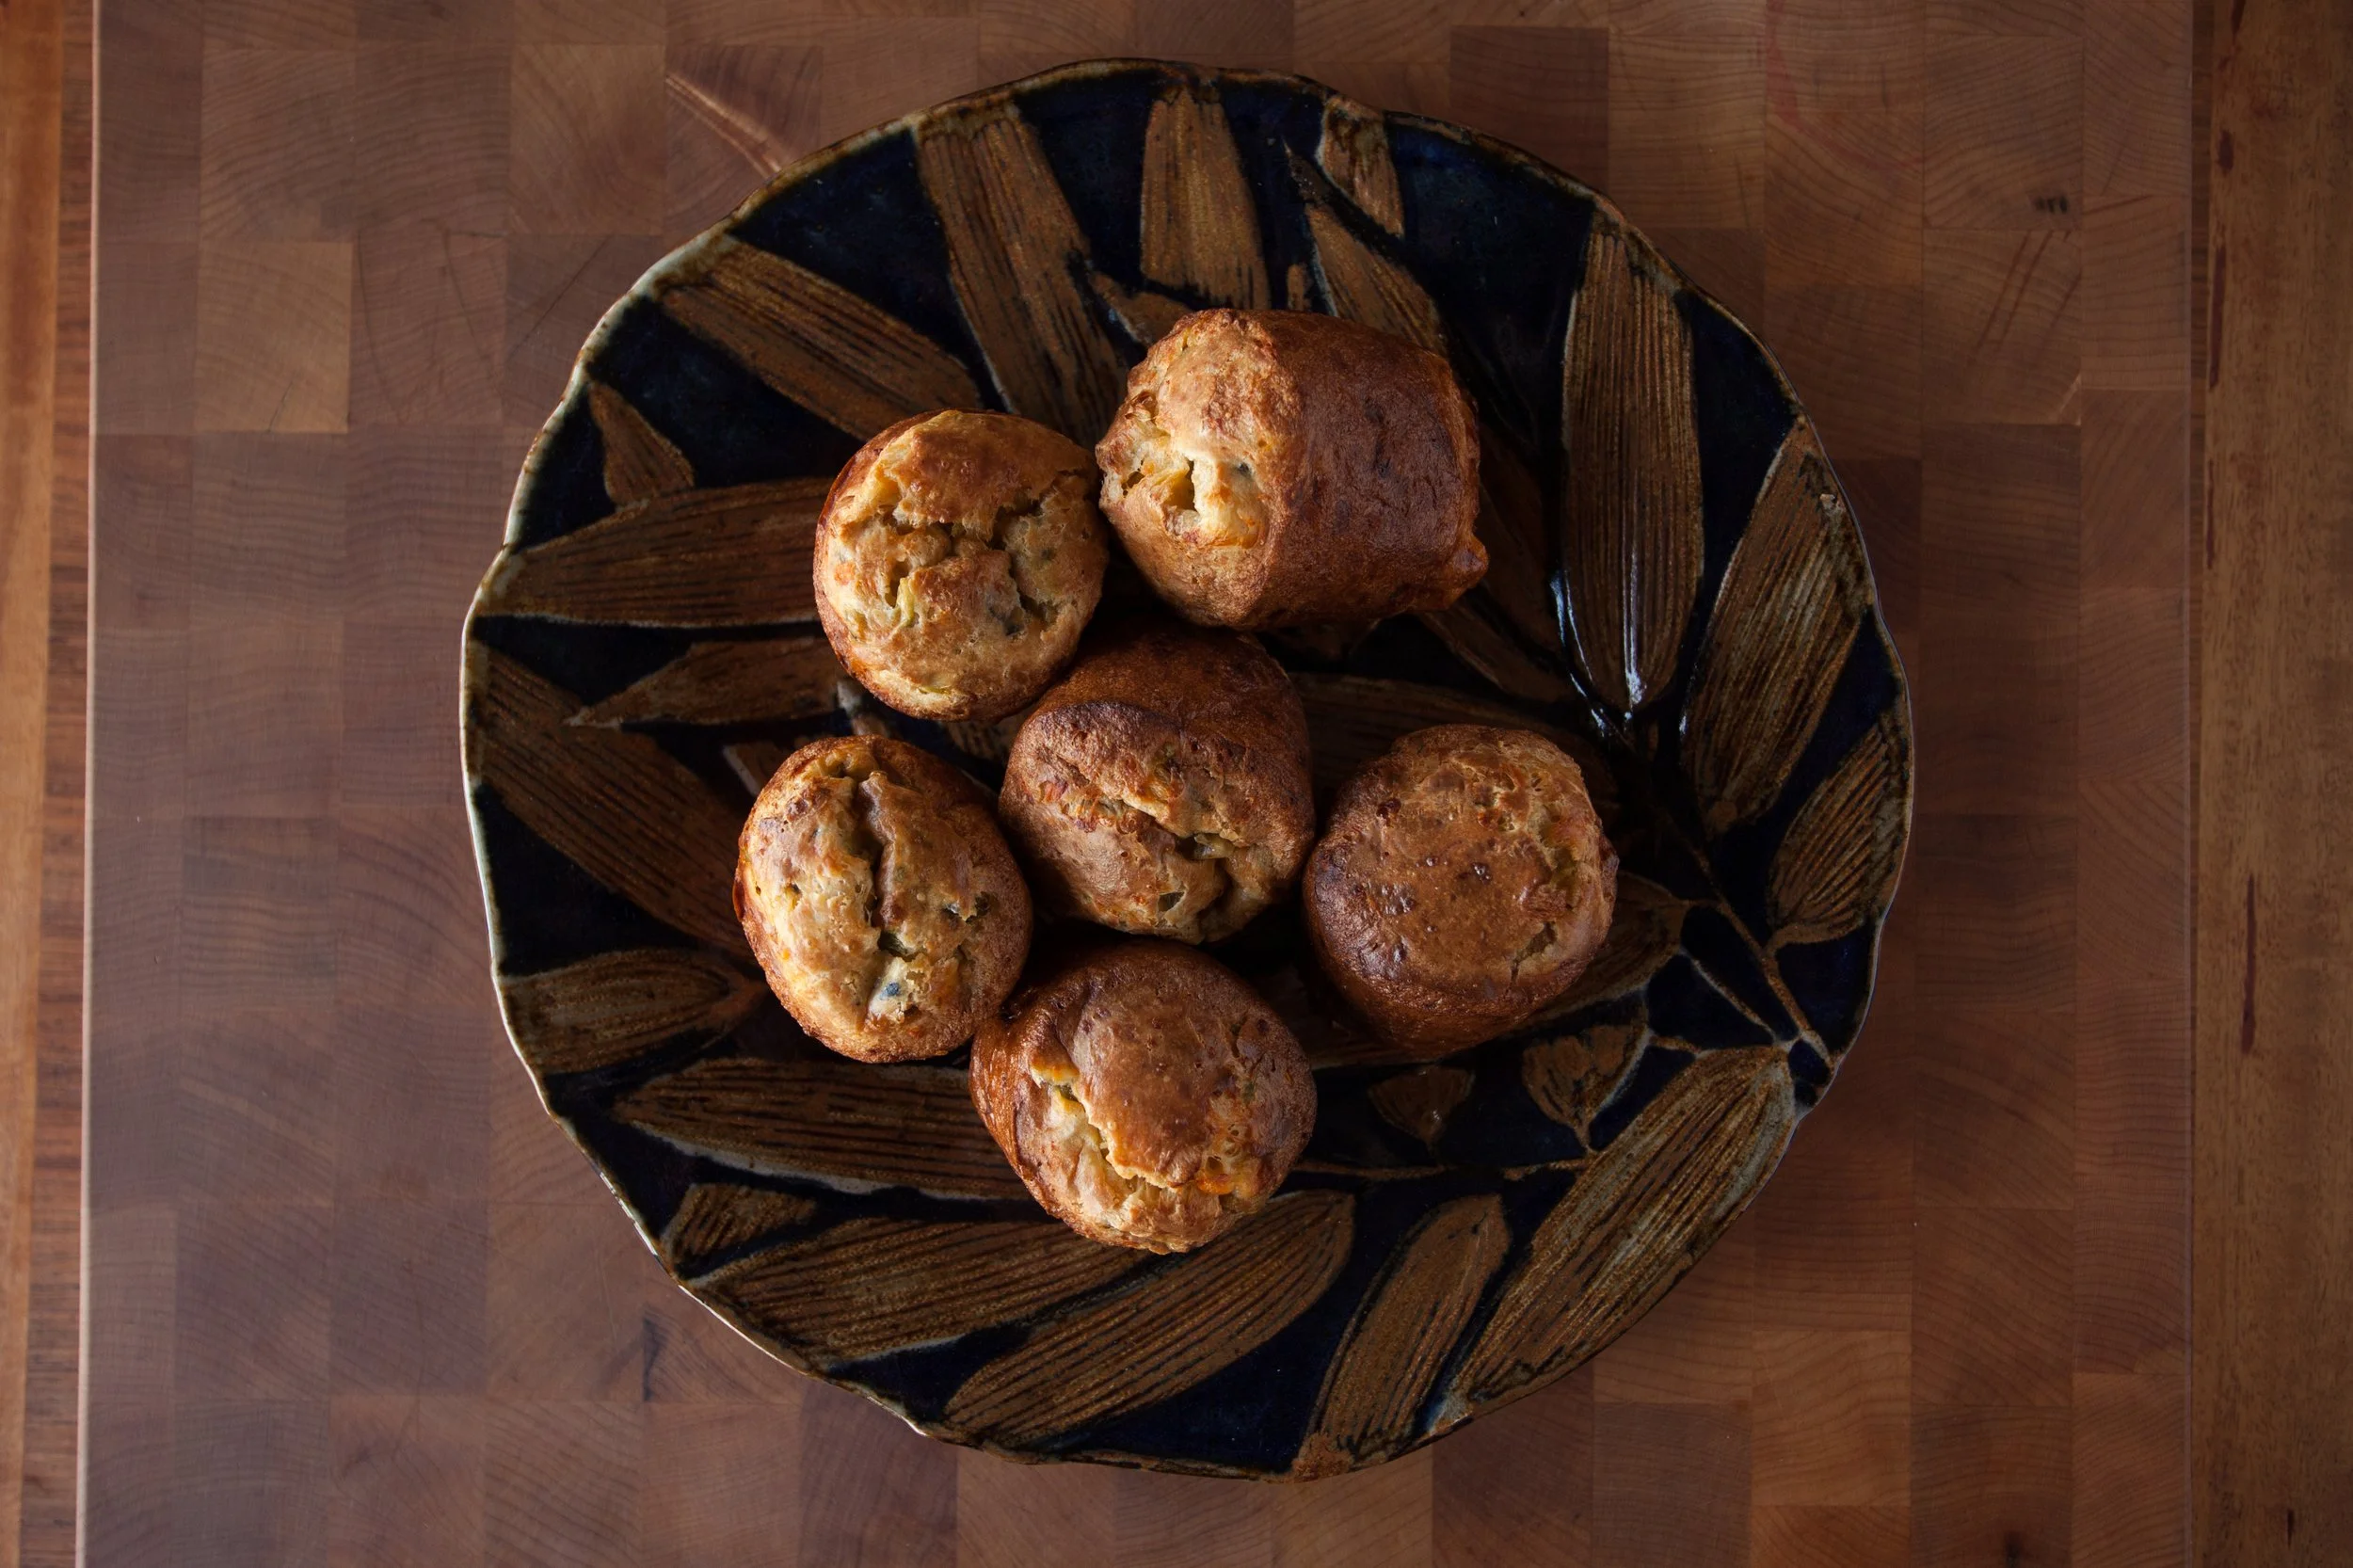
At the end of September, the Santa Fe Wine & Chile Festival takes over venues all over the city. Wine tastings crowd the parks, and restaurants host dinners featuring the season’s crop. The Farmers’ Market bustles with chile stalls while a local celebrity, Matt Romero, roasts them in cages over a fire. One year, I carried home a bag of his roasted chiles to make a batch of popovers with smoked cheese. My young kids watched through the oven window, waiting for the moment they were ready to eat. They came out puffed up like pillows, the centers oozing with bits of chile in melted cheese.
I recommend using a popover pan to yield the best rise, but a muffin tin can work too (they turn out quite as tall). The secret to perfect popovers is a heated pan and staying patient while baking: Never open the oven door until the popovers appear golden brown—then eat them right away!
Ingredients
Makes 8-10
Green Chile Cheese Popovers:
2 large eggs, lightly beaten
1 cup milk
1 cup all-purpose flour
1 teaspoon salt
1/2 teaspoon chile powder
1/2 cup roasted green chiles (method follows)
1/2 cup smoked cheddar cheese (or smoked gouda)
1 tablespoon melted butter
Process
Popovers:
Place a popover pan on the lowest oven rack and remove all upper racks (to allow popovers to rise). Preheat the oven to 425 degrees.
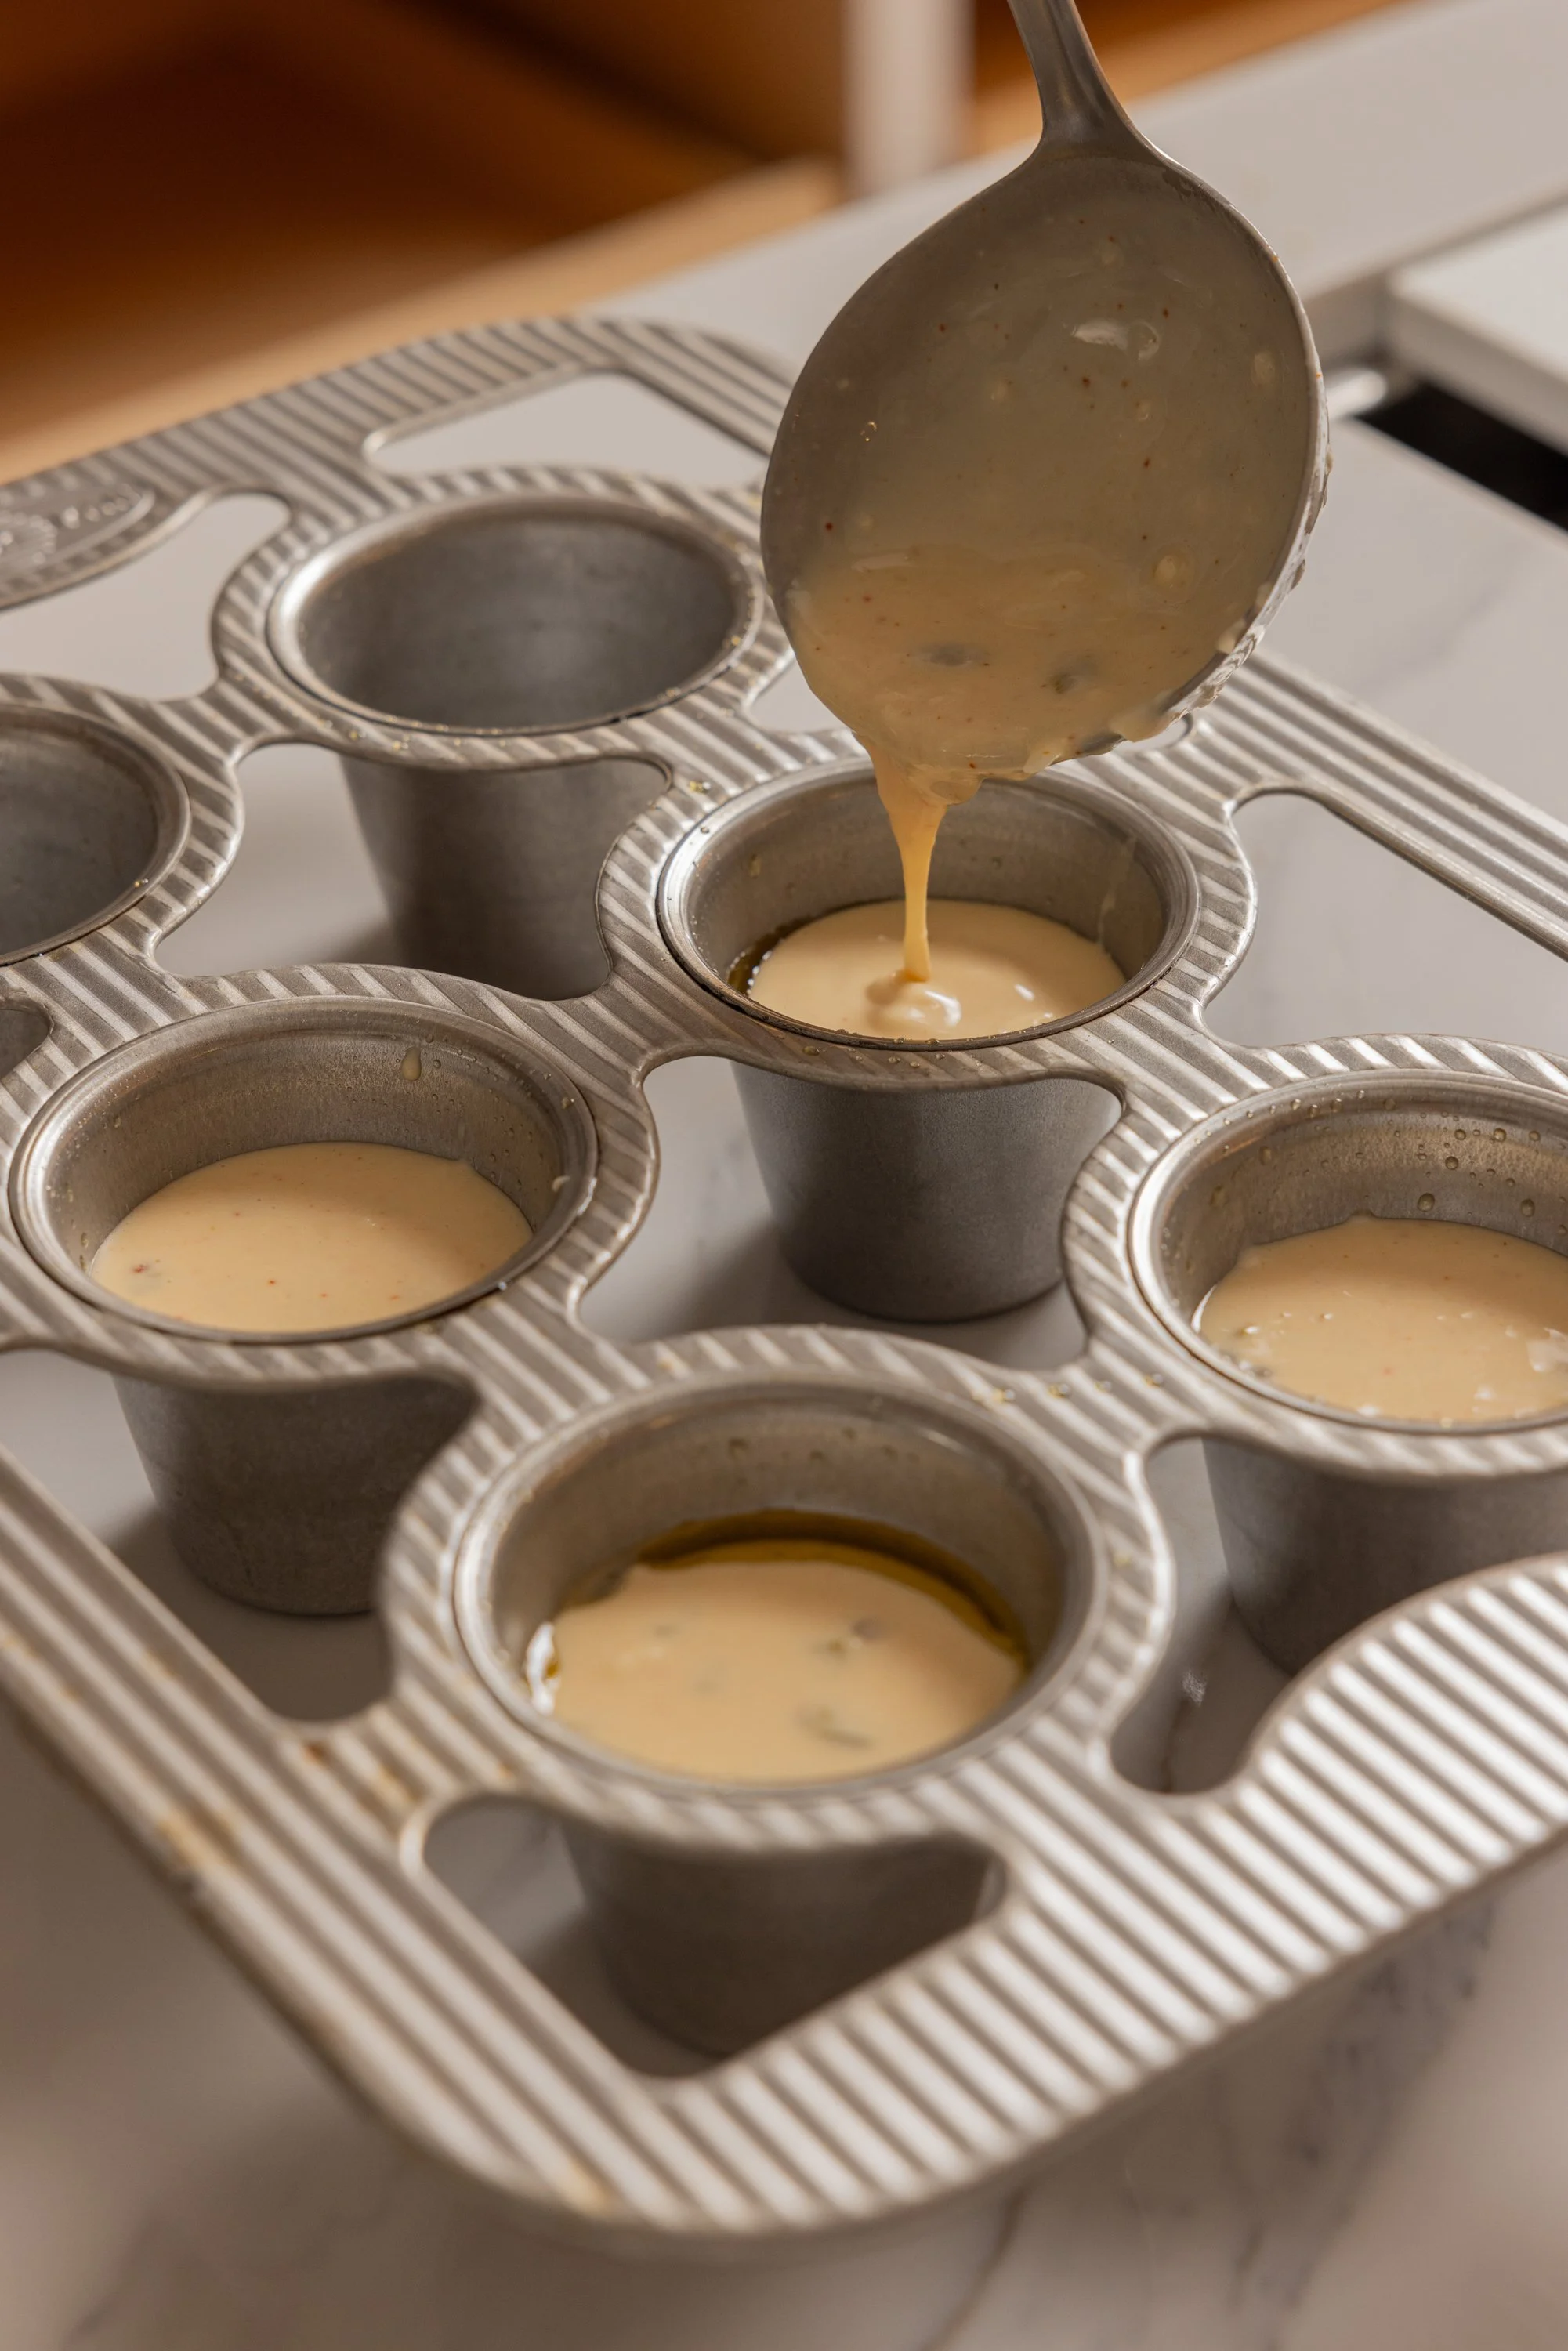
In a small bowl, whisk together the eggs and milk. In a large bowl, combine the flour, salt, and chile powder. Add the milk mixture to the flour mixture and mix with a hand mixer until the batter is smooth with no lumps. Stir in the chiles and cheese. Remove the popover pan from oven and carefully brush the melted butter into each cup. Pour the batter into the tins, filling each three-fourths full. Return the pan to the oven and bake for 25 minutes. Reduce the temperature to 350 degrees and bake for an additional 10 minutes, until golden brown and puffed up. Serve hot.
To Roast Green Chiles:
Place whole chiles directly on a hot grill or gas stovetop over medium heat. Watch carefully and turn with tongs as the skins blacken. When all sides of chiles are blackened and blistered, remove to a bowl and cover with plastic wrap to cool. When cool, remove stems and squeeze out seeds and remove skins. Do not run chiles under water, which will remove much of the delicious flavors. A little black char left on the chiles is fine.


